 Tweet
Tweet
After a little sidestep damage on some sidetracks around Condamine Gorge, and knowing they cost big-bucks to replace, I was motivated to recondition them myself. One day, I'll find the time to replace them with something more suited to a 4WD, but until then...
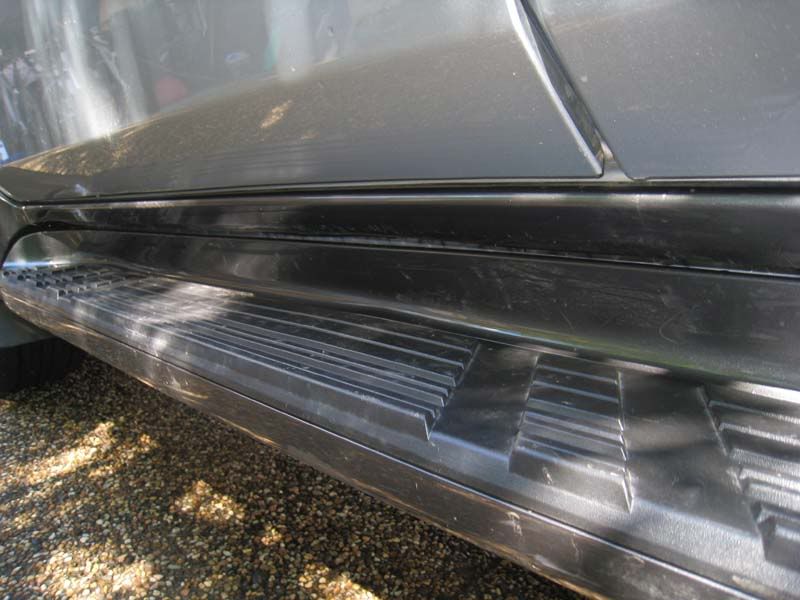
First the damage:
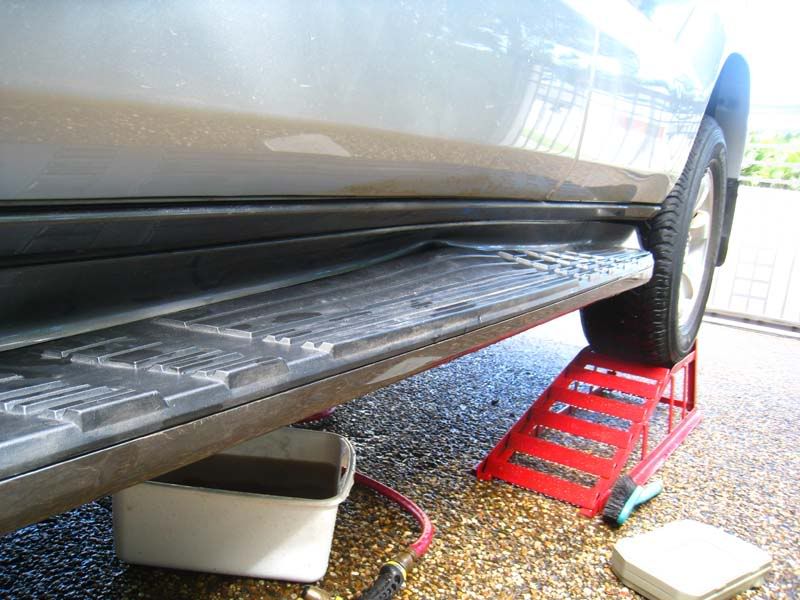
The plastic is dented, which I was afraid may not be so easily restored... :idea: Place them in the sun and get a helping hand from mother nature. Plastic wants to return to its original shape and a little natural warmth gives it the flex to do just that. Good ol' mother nature helping out .
.
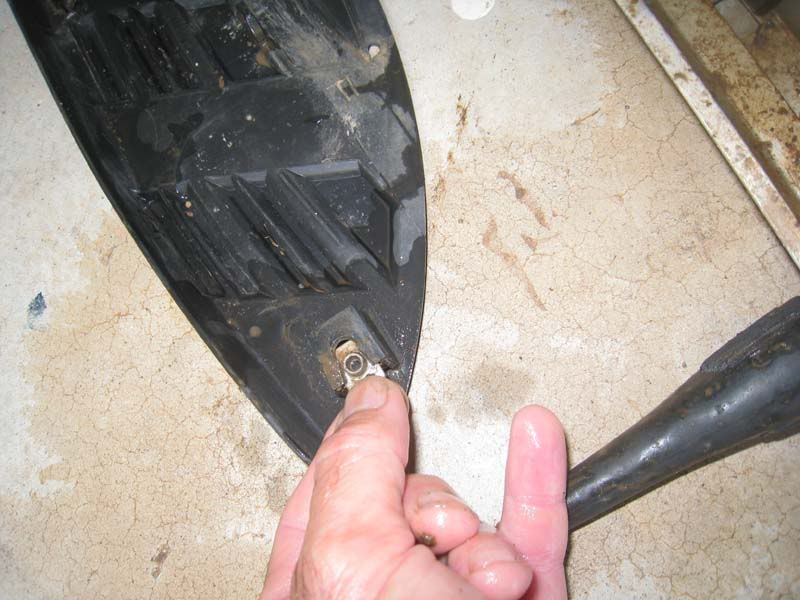
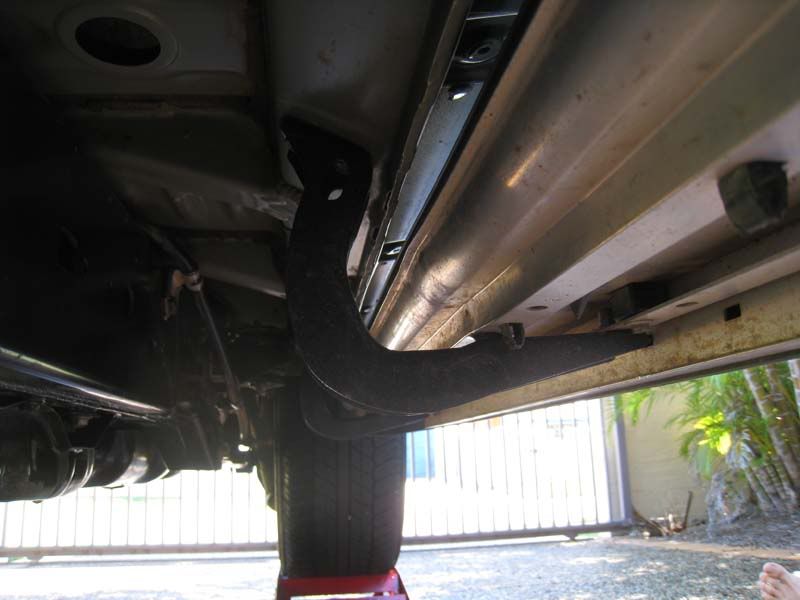
From the underside, you can see how the sidestep uses threaded rivet-nuts which are bolted onto the saddles. At first I thought the rivet-nuts were a flaky design. Though, upon reflection, it's probably just as well rivet-nuts were used, as anything more secure would have torn through the soft-alloy and ruined the step.
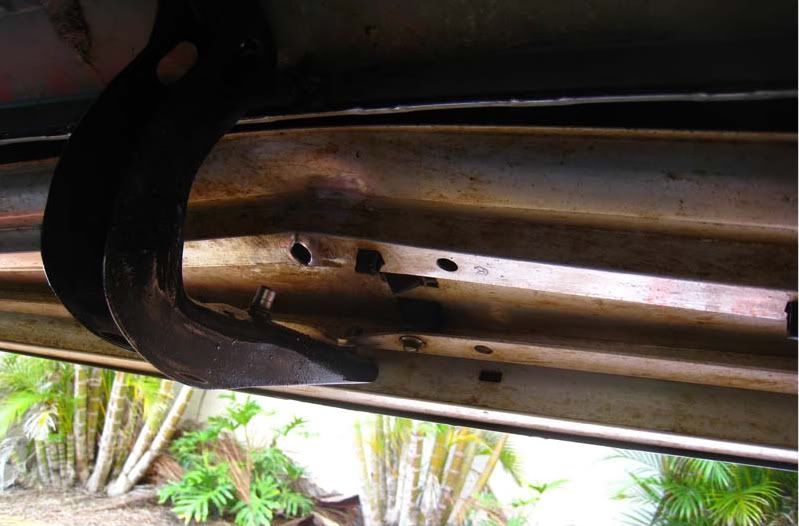
With the sidestep removed I could see the centre saddle was also a little skew. Applying some foot pressure soon returned it to "good-enough". You can see one of the rivet-nutss left behind on the saddle.
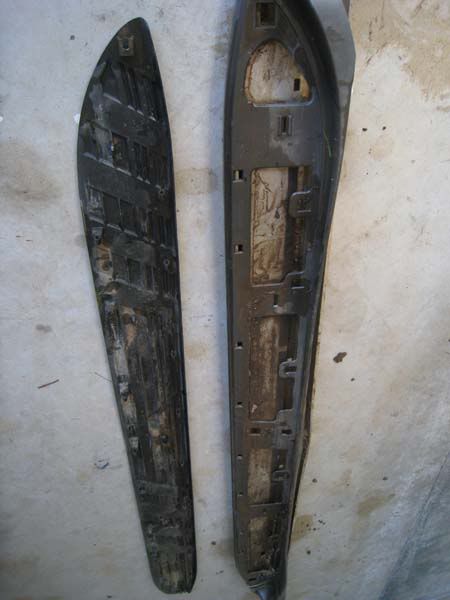
The plastics were easily unclipped. But be careful, there are three (3) hidden nuts that need to be saved away before they drop off: :idea:
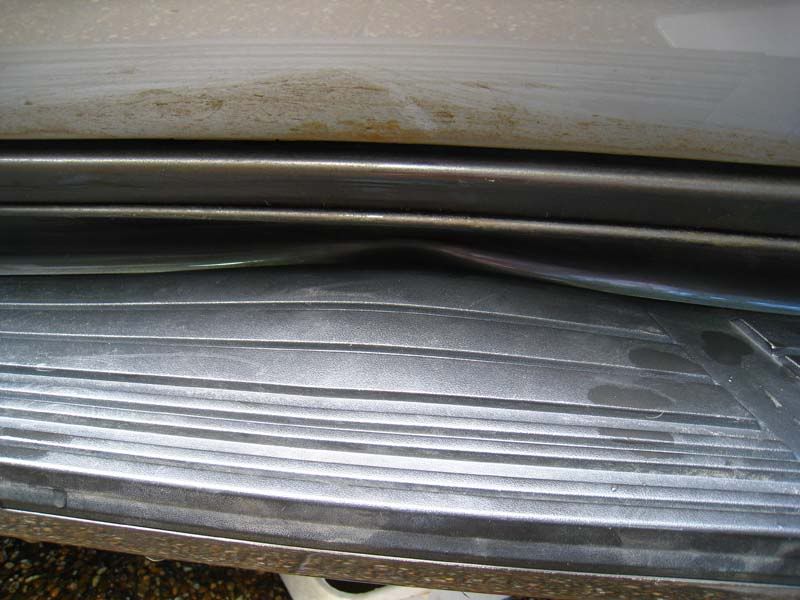
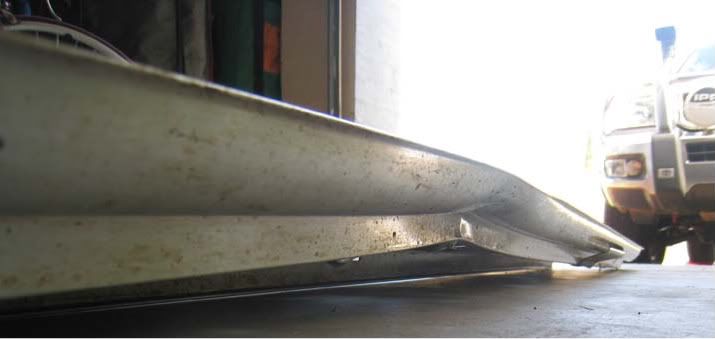
Unclipping the steps showed just how flimsy these are:
A distinctive buckle in the center of the sidestep. Placing my body weight over the step was enough to return it most of the way.
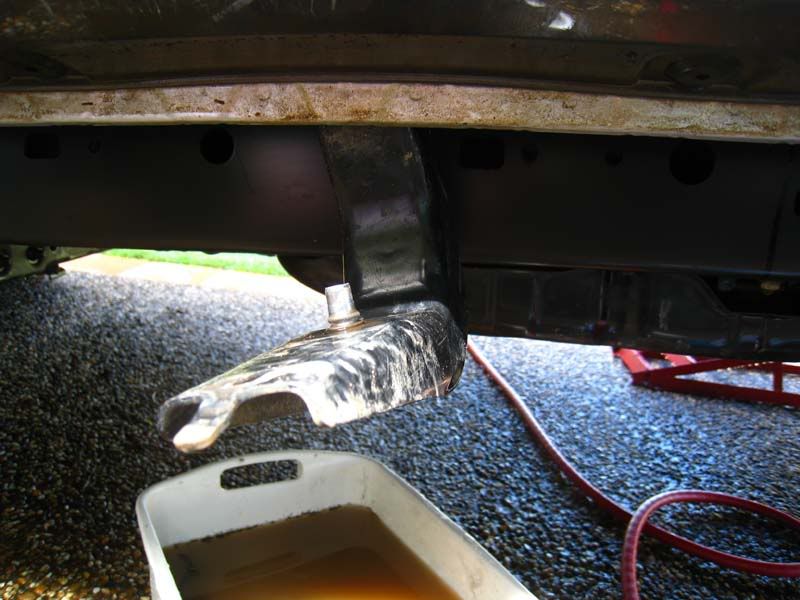
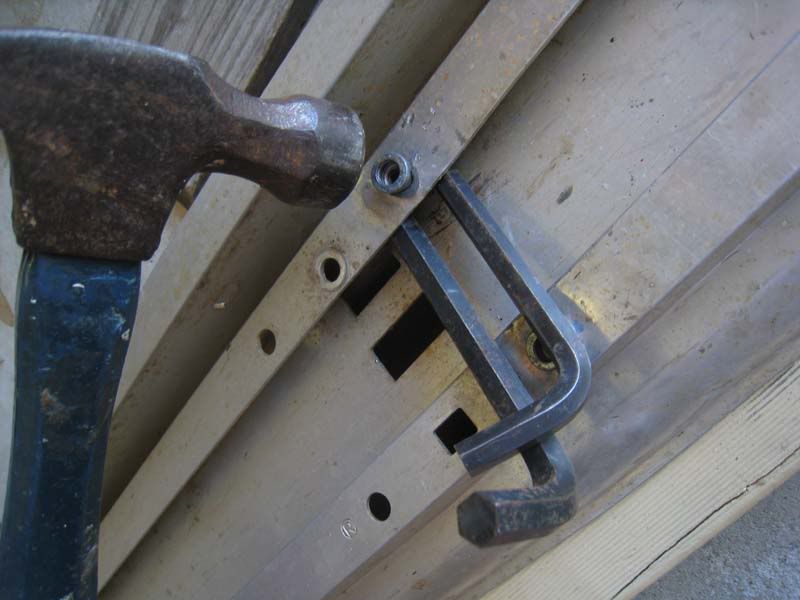
Some crude panel-beating finished the job:
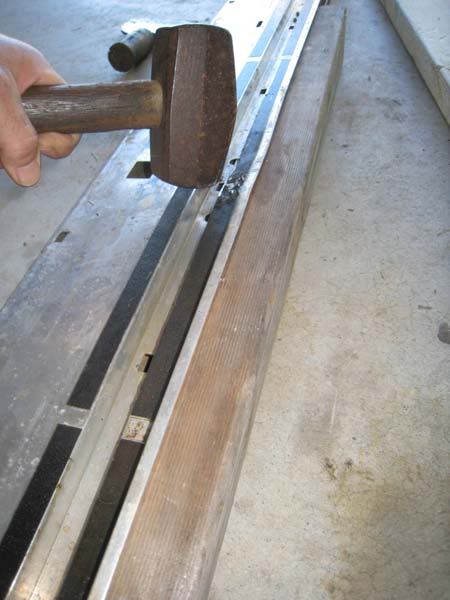
The sidesteps have some sort of a threaded rivet-nut. It would seem these steps are designed to pop-off. That is probably favourable, given that if they were attached too securely, the step would otherwise be damaged beyond repair. The holes for the rivet-nuts needed repairing as they had been distorted when the rivet pulled through them. I was still thinking crudely and hammered them into shape. :idea: In retrospect, I should have tried using a couple of large washers to squeeze the holes back into shape under the pressure of a nut and bolt.
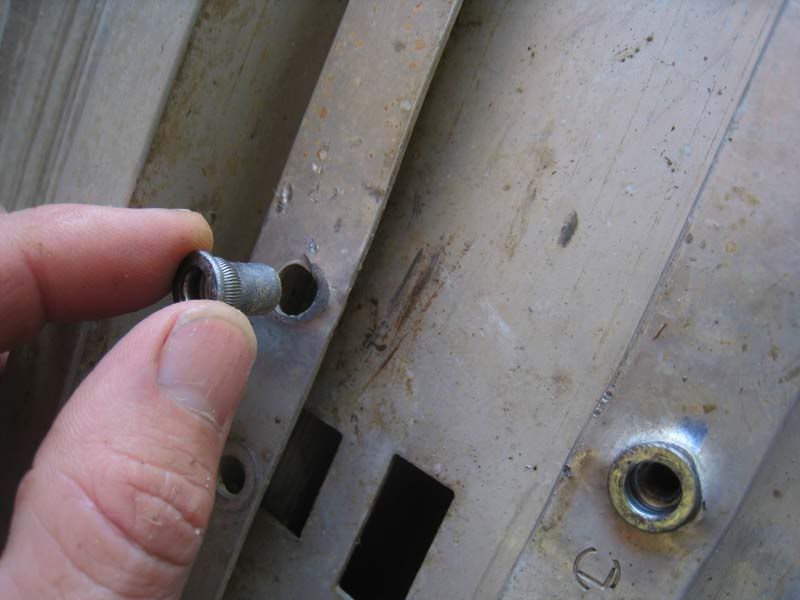
The rivet-nuts were easily hammered back into their hole. This one needed a little backing support.
The plastic pieces had been sunbaking for about an hour and it bounced back into shape:
From the underside it all looked good too. The damage barely visible... just a bruise really :
:
LFaR.
First the damage:
The plastic is dented, which I was afraid may not be so easily restored... :idea: Place them in the sun and get a helping hand from mother nature. Plastic wants to return to its original shape and a little natural warmth gives it the flex to do just that. Good ol' mother nature helping out
From the underside, you can see how the sidestep uses threaded rivet-nuts which are bolted onto the saddles. At first I thought the rivet-nuts were a flaky design. Though, upon reflection, it's probably just as well rivet-nuts were used, as anything more secure would have torn through the soft-alloy and ruined the step.
With the sidestep removed I could see the centre saddle was also a little skew. Applying some foot pressure soon returned it to "good-enough". You can see one of the rivet-nutss left behind on the saddle.
The plastics were easily unclipped. But be careful, there are three (3) hidden nuts that need to be saved away before they drop off: :idea:
Unclipping the steps showed just how flimsy these are:
A distinctive buckle in the center of the sidestep. Placing my body weight over the step was enough to return it most of the way.
Some crude panel-beating finished the job:
The sidesteps have some sort of a threaded rivet-nut. It would seem these steps are designed to pop-off. That is probably favourable, given that if they were attached too securely, the step would otherwise be damaged beyond repair. The holes for the rivet-nuts needed repairing as they had been distorted when the rivet pulled through them. I was still thinking crudely and hammered them into shape. :idea: In retrospect, I should have tried using a couple of large washers to squeeze the holes back into shape under the pressure of a nut and bolt.
The rivet-nuts were easily hammered back into their hole. This one needed a little backing support.
The plastic pieces had been sunbaking for about an hour and it bounced back into shape:
From the underside it all looked good too. The damage barely visible... just a bruise really
LFaR.
Comment